Improve your Windows 11 productivity using Microsoft PowerToys
Q. Are there extra Windows utilities that can improve visuals and boost my Windows 11 productivity?
A. Beyond built-in Windows 11 productivity tools, there are ways to include additional controls for visuals. One way to do this is with Microsoft PowerToys. From color pickers to zooming to mouse utilities, Microsoft PowerToys features allow you to create a more efficient work environment and improve your Windows 11 productivity.
INSTALLATION
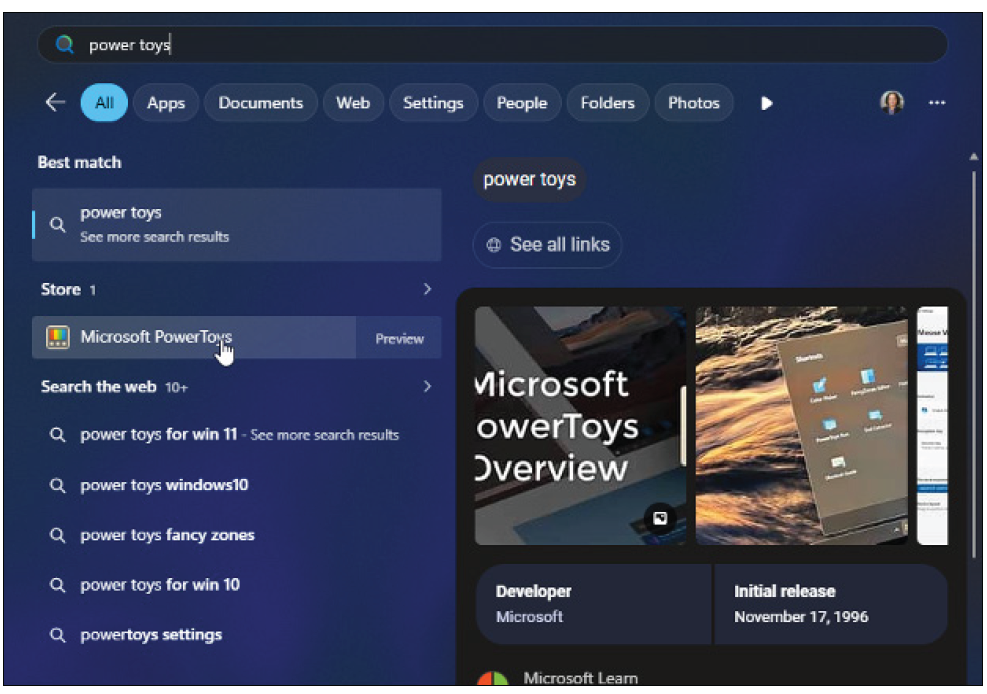
To install PowerToys, I click on the Start menu and type PowerToys or Power Toys (both work). One of the results will be Microsoft PowerToys. I click on the icon to open the Microsoft Store, and I click Install.
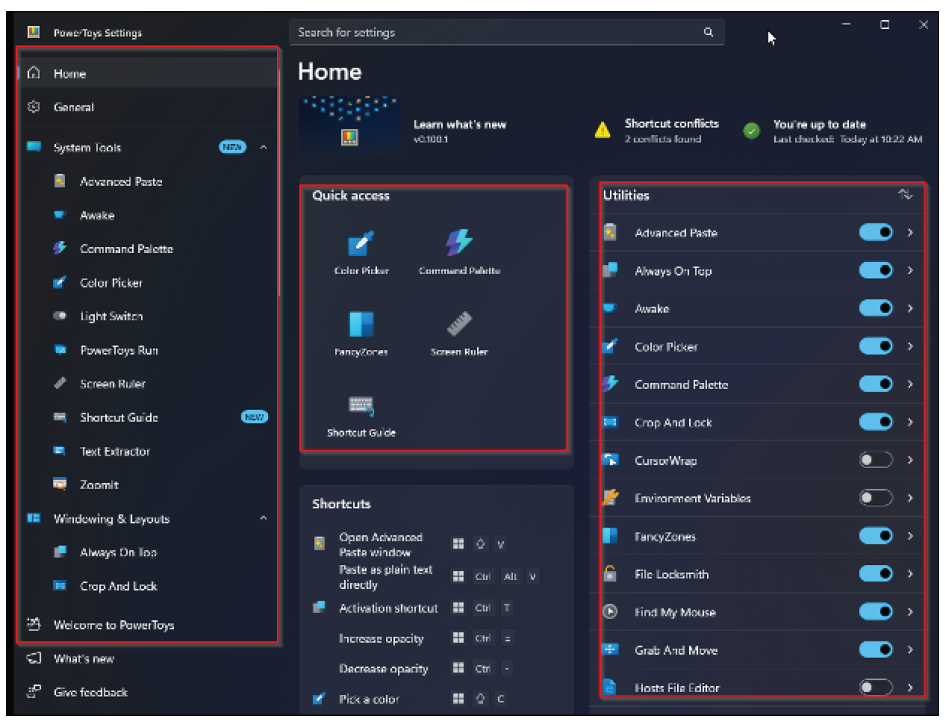
Once installation is complete, the PowerToys home screen opens with a lot of options. As shown in the following screenshot, on the left are all the tools available in PowerToys. On the right is a summary of the tools (“Utilities”) that are active and, in the center, are quick access buttons to activate some of these tools. I am going to focus on just a handful of the available tools.
COLOR PICKER IN MICROSOFT POWERTOYS
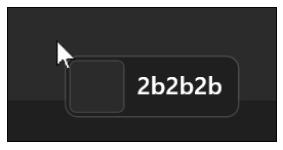
The first simple tool I like is the Color Picker. It lets me click anywhere on my screen to get the color code in HEX. Most colors can be represented by a six-character HEX code. For example, black is represented by 000000, white is represented by FFFFFF, and red is represented by FF0000. I use Color Picker to grab the exact colors from a client’s logo or website, then reuse those HEX codes in deliverables. To activate Color Picker, you can use the keyboard shortcut Windows+Shift+C. This will add a tooltip to the cursor with the color code, as shown in the following screenshot.
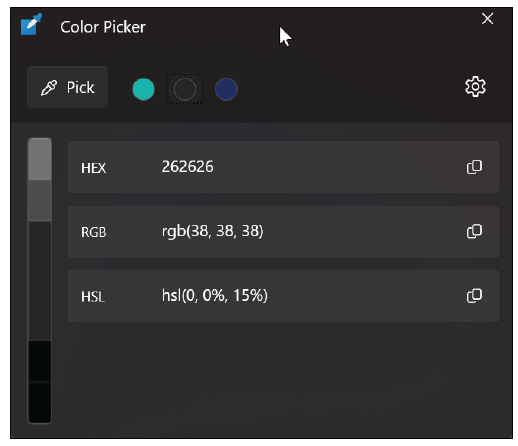
When you click on a color you like, a window will pop up with the HEX code along with codes for other color-code styles, as shown in the following screenshot. It will also put the HEX code on the clipboard, which makes it easy to paste somewhere like an email or design app.
ZOOMIT TOOL
The ZoomIt tool allows zooming and annotating the screen while presenting on a screenshare. Before I can start using the tool, I need to turn it on. In PowerToys, I go to System Tools and then ZoomIt. I turn ZoomIt to “On” and accept the license agreement. Review the following screenshot.
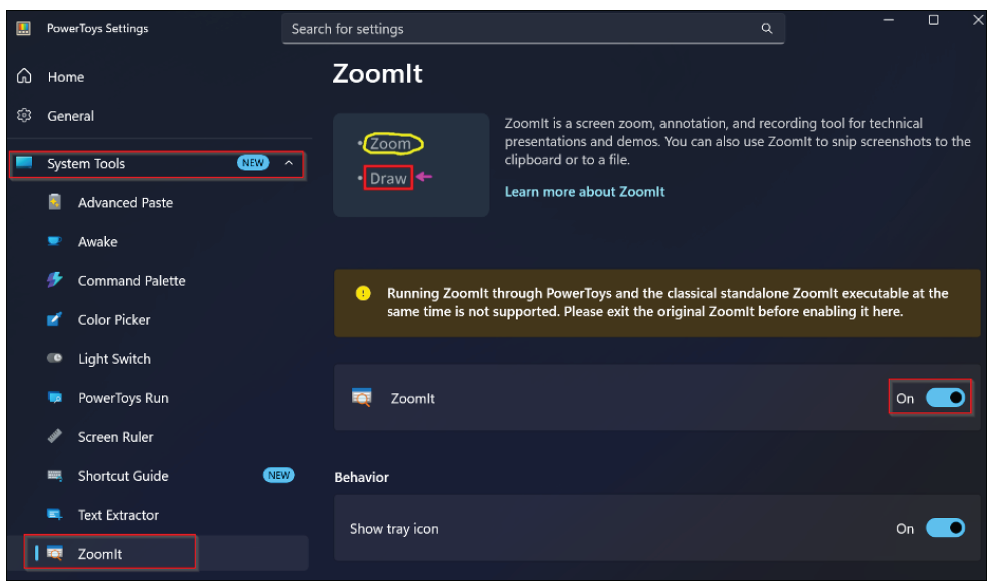
Once ZoomIt is active, I will use two shortcuts. For the zoom function, it is Ctrl+1. This will switch to the zoom controls. I can move the mouse around to focus on different areas of the screen. I can use the scroll wheel to zoom in and out.
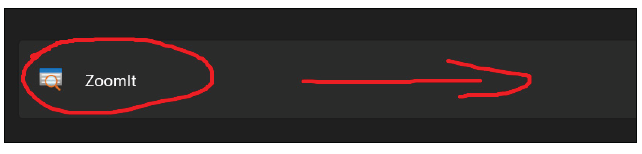
To activate the annotation function, I use Ctrl+2. My cursor becomes a pen dot. Clicking and dragging around the screen draws, as in the following screenshot. Once done, pressing the Esc key will switch back to the cursor. This will also clear all the annotations from the screen.
FIND MY MOUSE
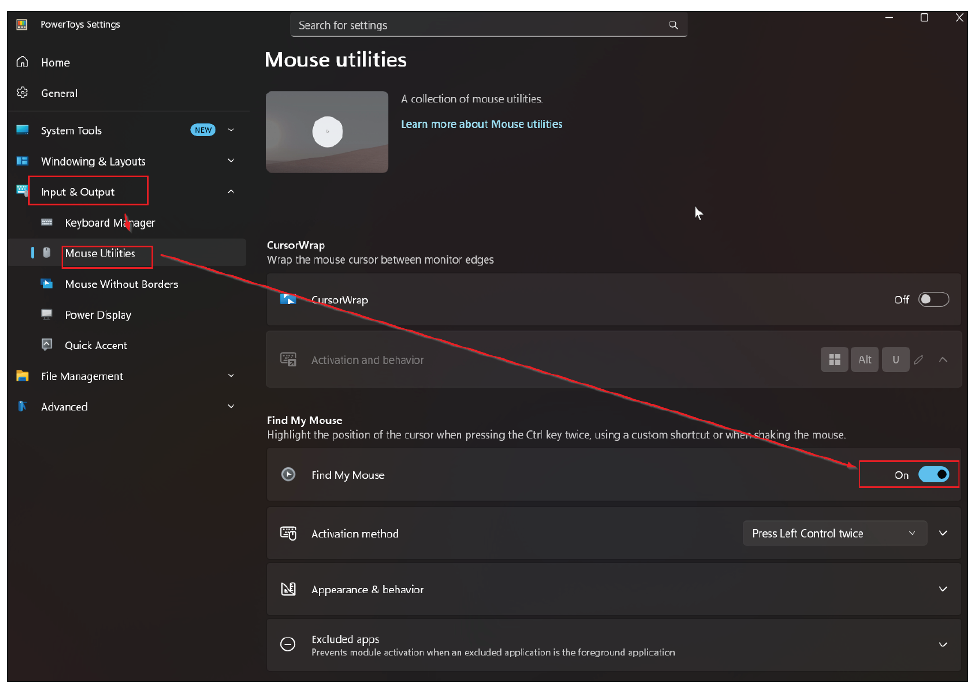
Windows has a built-in Find My Mouse function that, if turned on, allows you to find your pointer when you press the Ctrl key, but the PowerToys version is better. PowerToys will dim the screen and put a spotlight on the mouse cursor. To activate Find My Mouse, in PowerToys, go to Input & Output, then click on Mouse Utilities. Locate the Find My Mouse section and turn it on. Review the following screenshot.
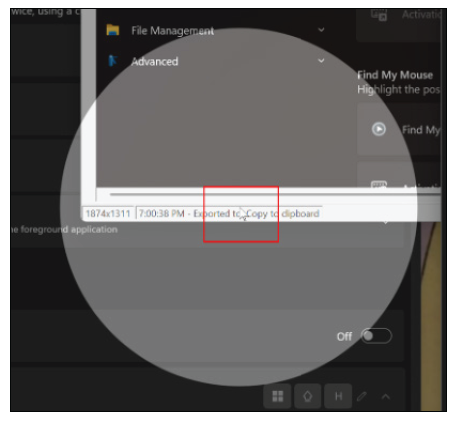
Now rapidly press the Ctrl key twice to trigger the spotlight, as shown in the following screenshot.
Crop And Lock in Windows
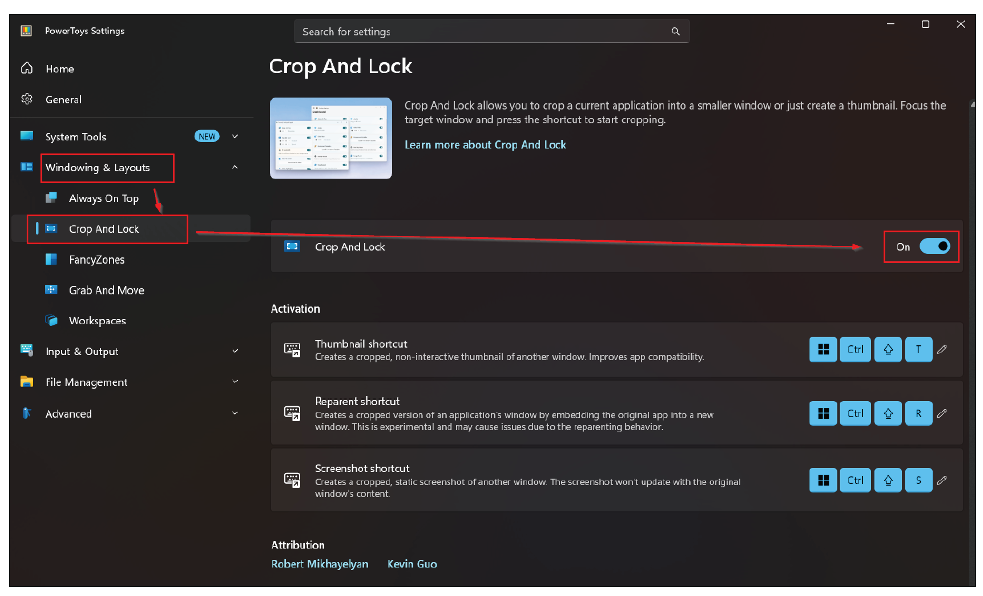
Crop And Lock will convert a window into just the cropped version of that window. This cropped region is live and active. I can click on elements and scroll up and down. This is great when I am working only on my laptop and so have limited screen real estate. Crop And Lock will also remove the extra noise and menus, letting me focus on just the information I need. To activate Crop And Lock, go to Windowing & Layouts, click on Crop And Lock, and turn it on, as in the following screenshot.
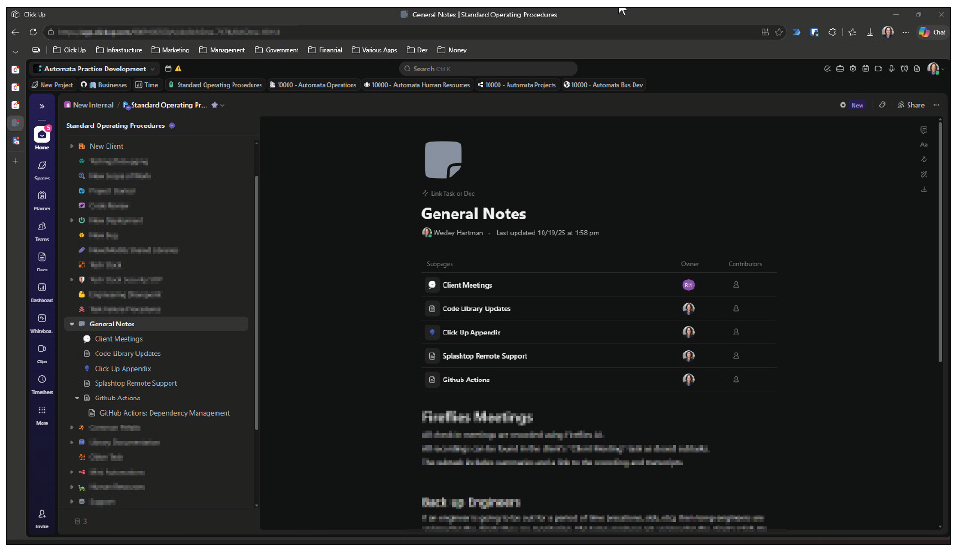
To activate Crop And Lock, I click on the window I want to work with. In this case, it is a page from our Standard Operating Procedures. The following screenshot includes all the menus from the app we use. There are menus everywhere, and the screen is very busy.
After running Crop And Lock, my screen looks like this:
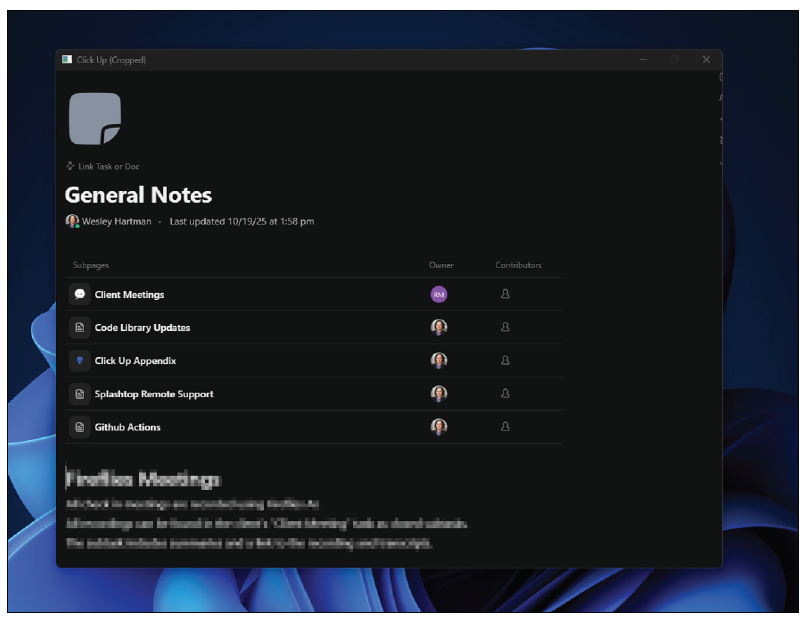
I can click on the rows to drill into those sections. One thing to note is that if something I click on changes the menus that are being cropped, I will not notice that. To exit the crop, I close the window, and it will restore the original view. This would also be useful for keeping sections of PDFs in a minimal window.
Microsoft PowerToys is shortcut-heavy, but it fills some small yet impactful gaps in the Windows experience. Start with the basics like the better Find My Mouse, work up to the advanced Crop And Lock, and note how your Windows productivity improves.
About the author
Wesley Hartman is the founder of Automata Practice Development.
Submit a question
Do you have technology questions for this column? Or, after reading an answer, do you have a better solution? Send them to jofatech@aicpa.org.